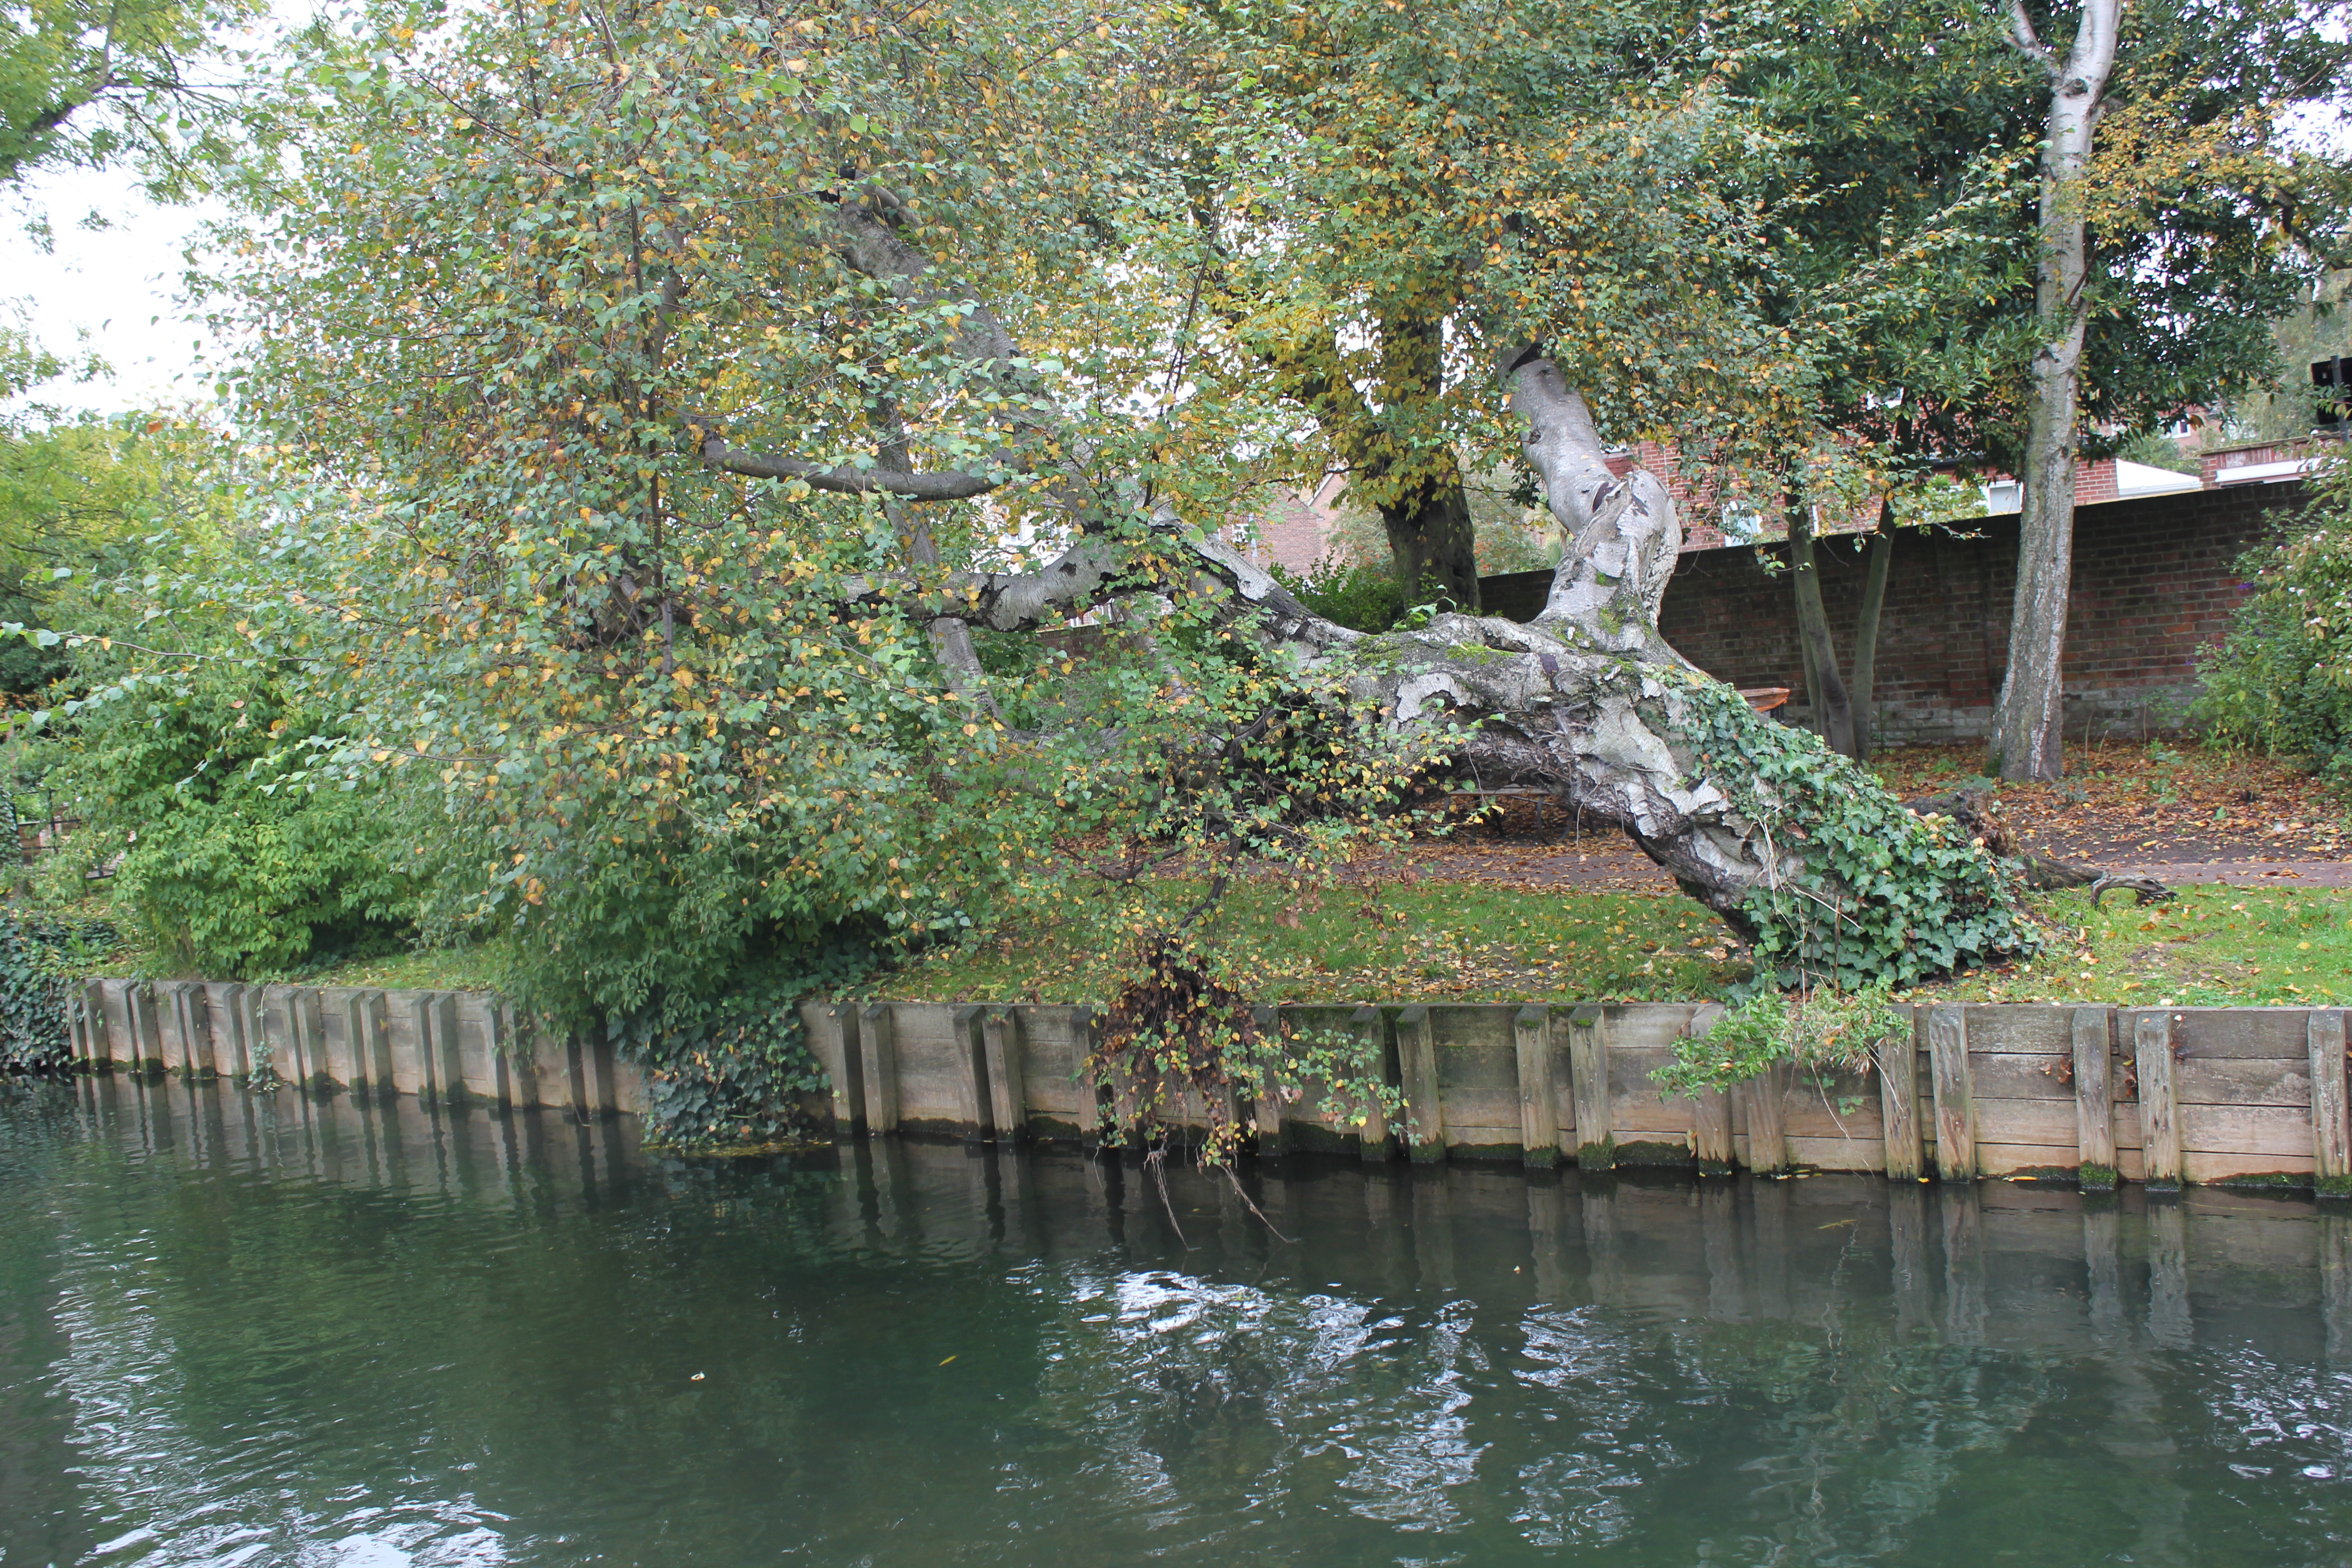
After visiting Westgate Gardens we were told to take use one of our tree images and make a 3D model of it. I used this image of a tree leaning over a river because it was unusual and may be a challenge to model.

First I Made the tree trunk using a cylinder. I would texture it and shape it to look like the tree in the picture. I made the top a point by selecting the top vertices and welding them into one. I made a seamless line down one side of the trunk then created a UVW map and a pelt map. I sourced a bark texture from textures.com to use for my tree and edited it in Photoshop to work on my model.

Next I shaped the trunk of the tree to look like the tree I photographed. The tree I chose was an odd shape and was different from most others. I also added one of the larger main branches to the tree.

After that I added the other large branches that I could see on my original picture.

I Found a leaf texture on textures.com and applied it to a plane for my leaves. I bent the plane by the x and z axis to create a more 3d shape. I spent time adding then leaves to the branches of the tree making it as close to the original as I could.

The final product is shown below with a comparison to the reference image. Overall the tree looks very similar to the original and I think I did a good job modeling it. I learned new techniques in this task such as creating from a reference image and creating a pelt map.

One thought on “Week 5 – Tree Modeling Using Primary Research”